Contact us to get started!
No obligations — let’s discuss your project and see how we can help!
San Diego Showroom
| Mon | 9:00AM - 5:00PM |
| Tue | 9:00AM - 5:00PM |
| Wed | 9:00AM - 5:00PM |
| Thu | 9:00AM - 5:00PM |
| Fri | 9:00AM - 4:00PM |
| Sat | 10:00AM - 4:00PM |
| Sun | Closed |

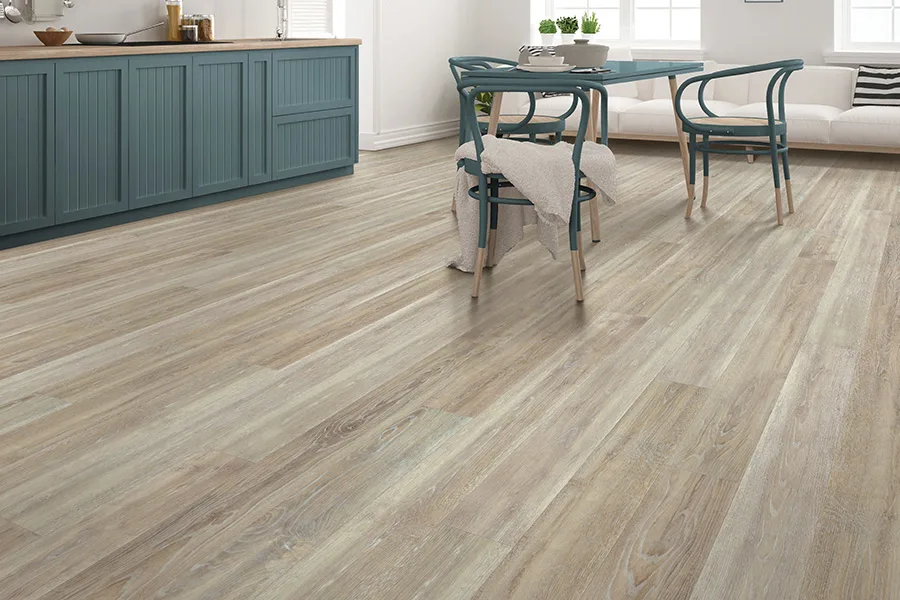
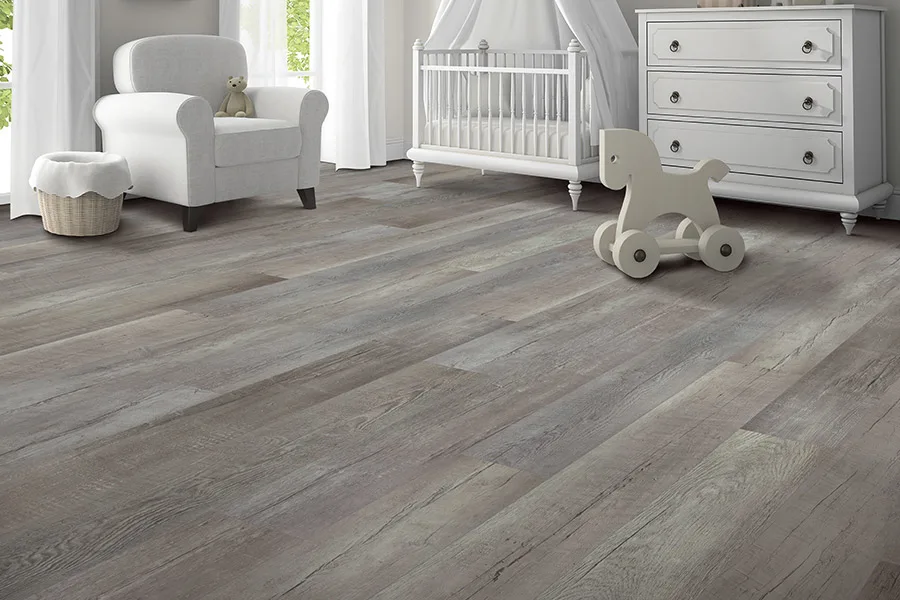
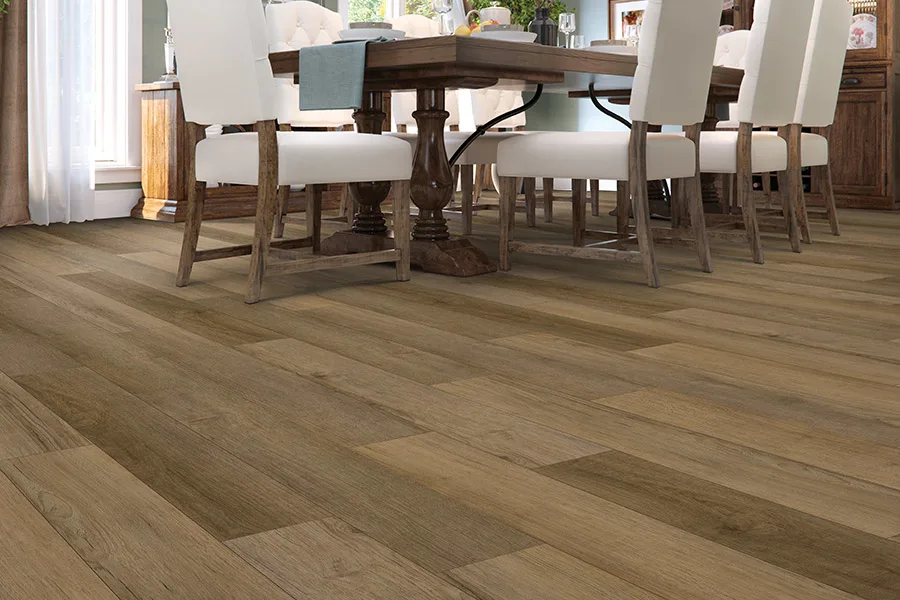
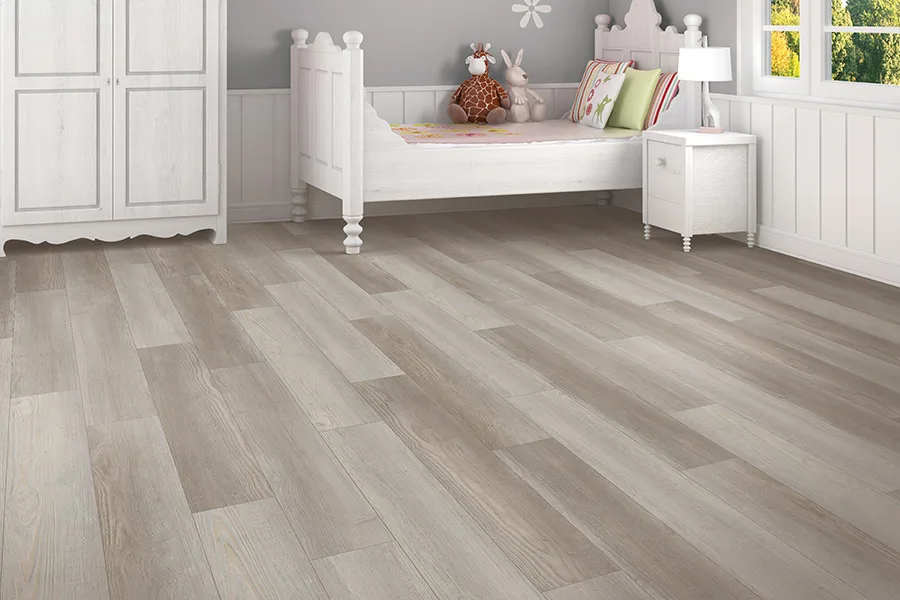
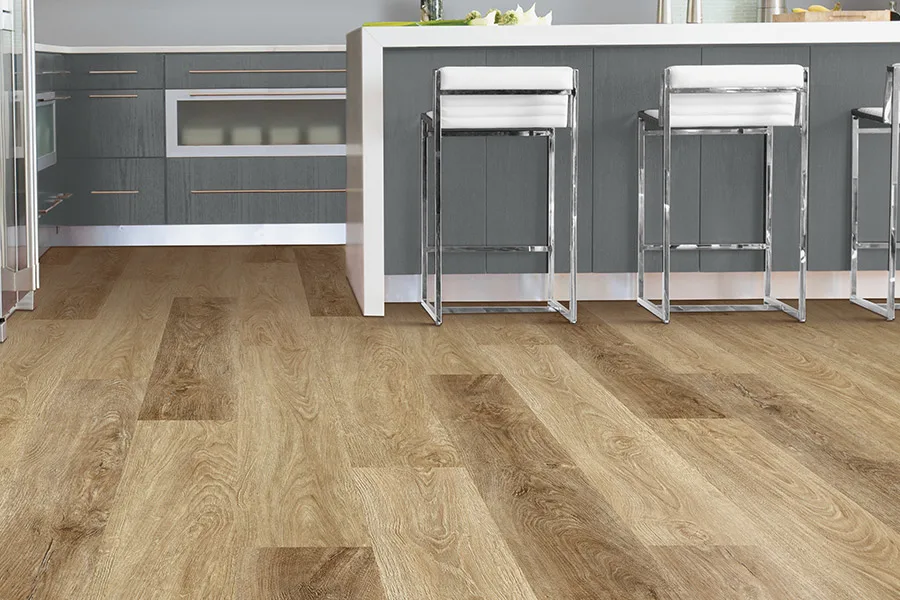
Luxury vinyl flooring (LVF) offers excellent protection and benefits that just make life easier for San Diego homeowners.
With luxury vinyl flooring in San Diego, CA from Geneva Flooring, you’ll enjoy some of the most beautiful appearance options along with superb benefits that make this flooring worthwhile. You’ll easily be able to utilize this flooring line for every room in your home, from basements to bedrooms and everything in between. And you won’t have to worry about replacing them anytime soon, as they also offer an excellent level of durability. Even with pets and children in the home.
Versatility in design
Luxury vinyl floors will first catch your eye with their immense levels of color, patterns, and the amazing way they can replicate natural materials like wood, stone and tile, with amazing realism. They not only look just like the real thing, but they feel like them as well, through graining and textures that are extremely life-like.
Durable and long-lasting
Once you come in for a closer look, you'll find these floors also offer amazing benefits and a wonderful lifespan which means you'll be able to enjoy these floors longer. For instance, they easily repel stains, scuffs, scratches, and fading for a great look for many years ahead.
With a waterproof option, you’ll get the most amazing peace of mind from knowing your floors are protected against water damage forever. Leaks, spills, humidity, and dampness does not affect these floors and even changing temperatures won't affect the quality of your flooring.
If you’re ready to get started, be sure to speak with one of our associates at our San Diego, CA luxury vinyl flooring store about your style and ask about our flooring istallation services.
We will help you find a great looking floor and even more peace of mind that you’ll never have to worry about a failed installation.

No obligations — let’s discuss your project and see how we can help!
| Mon | 9:00AM - 5:00PM |
| Tue | 9:00AM - 5:00PM |
| Wed | 9:00AM - 5:00PM |
| Thu | 9:00AM - 5:00PM |
| Fri | 9:00AM - 4:00PM |
| Sat | 10:00AM - 4:00PM |
| Sun | Closed |
Let one of our experts help you find the perfect floor!
Thank you! We'll be in touch shortly.